DIY Pillows
(no artistic talent required)
UPGRADE YOUR HOME DÉCOR WITHOUT A DESIGN DEGREE
You don’t have to be an artist or interior decorator to create these fun SHARPIE- DECORATED DIY PILLOWS that add bold pops of colour and style to your bedroom, living area, or anywhere else you like to hang and chill with friends.

WHAT YOU’LL NEED:
Plain white or light-coloured throw pillows OR pillowcases
- 1 piece of cardboard, cut to fit
Ruler
STAINED BY SHARPIE Fabric Markers
01
Place your pillow on a smooth tabletop surface. For pillowcases, insert a piece of cut-to-fit cardboard in between to prevent ink bleed-through.
02 SHARPIE!
Grab your STAINED BY SHARPIE Markers and just do you—creating bold, imaginative patterns that match your personal style and the vibe of the room.
BOLD STRIPES: Alternate thin lines with a thick middle stripe to create a classic pattern that goes well with any decor. Repeat, adding white space between the colour bands. Draw stripes horizontally, vertically or diagonally from corner to corner as you like.
V-PATTERN: With a ruler, draw a light pencil line down the middle of the pillow (can be easily erased after). From this centerline, draw a thin, black downward “V” at a broad angle to each side of the pillow. Repeat, spacing each “V” a half-inch apart.
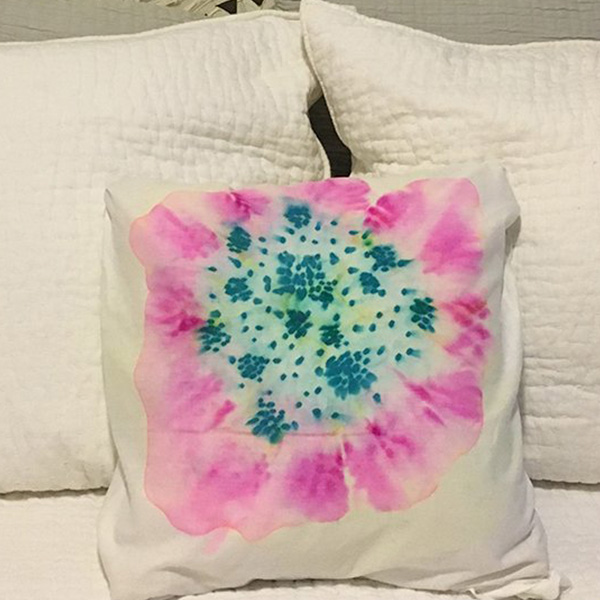
WATERCOLOUR EFFECT: Achieve a cool watercolour look by slightly overlapping bands of bright Sharpie colours so they blend into each other. Use darker blues and purples at the bottom, then transition to lighter yellows, reds and oranges as you go up the pillow.
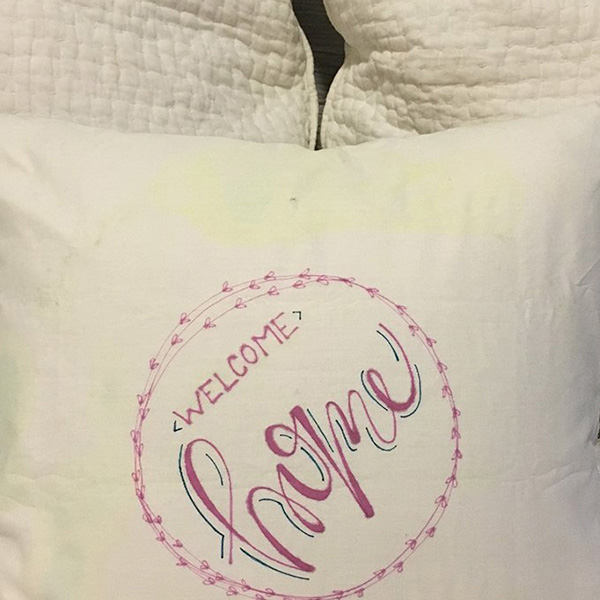
STENCILS: Use letter stencils from any crafts store to write motivational quotes or song lyrics you can draw inspiration from everyday
FREESTYLE ICONS: Freehand draw miniature birds, flowers, band or sports logos, or other meaningful symbols in offset rows from top to bottom to create a pillow design totally your own.
