Decorative Vases
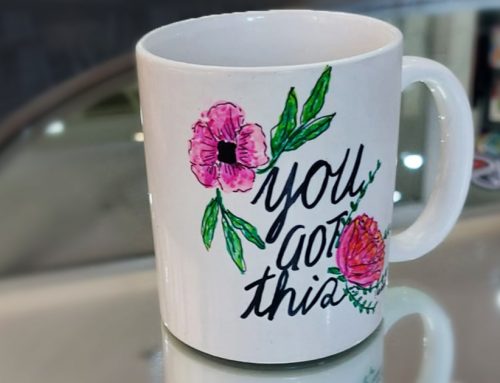
Whether you fill them with fresh-cut flowers or use them as a design accent, DIY decorative vases – styled your way with a Sharpie® marker – are a great way to add artful flair to any living space.
YOU’LL NEED:

SOURCE YOUR VASES
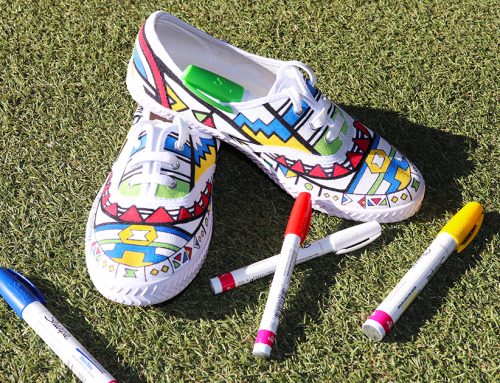
01 Pick out several large vases from any home store. For a MODERN MINIMALIST look, choose white vases with a sleek, geometrical silhouette. Or go for the on-trend RECLAIMED look by “upcycling” glass bottles from around the house, such as sparkling water or wine bottles, with a distinctive shape.
TIP: To create a centrepiece of multiple vases in one setting, change up the shapes and sizes from short and round to tall and thin for an eclectic mix.

PREP THE SURFACE
02 Wipe down vases with a clean, damp cloth for a dust-free writing surface. For repurposed glass bottles, scrape off any labels and use a glue solvent to rub off the gooey residue.
TIP: Soaking bottles in water for 30 minutes helps loosen labels so they come off more easily and cleanly.

PAINT YOUR BASE COLOUR
03 Spray-paint your base colour using a fluid motion from 8-12” away to avoid drips. Wait 15 minutes, then re-spray to ensure a thick and uniform basecoat. Let stand for 2-3 hours until the paint is dry to the touch.
TIP: To create a centrepiece of multiple vases in one setting, change up the shapes and sizes from short and round to tall and thin for an eclectic mix.

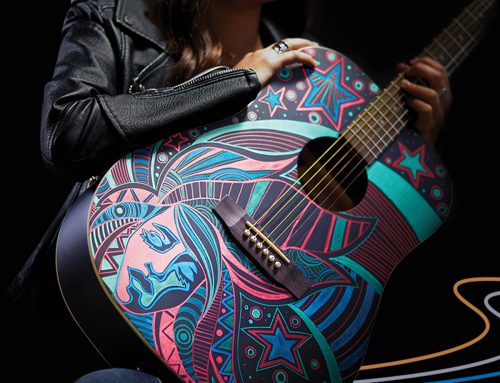
SHARPIE IN YOUR UNIQUE DESIGNS
04 There are no limits or rules to how you decorate your vases. But linear patterns can be easiest to start with before graduating to more complex geometric designs.
TIP: Use Washi tape to add colourful graphic stripes to your vase and to set straight lines to follow for the marker.